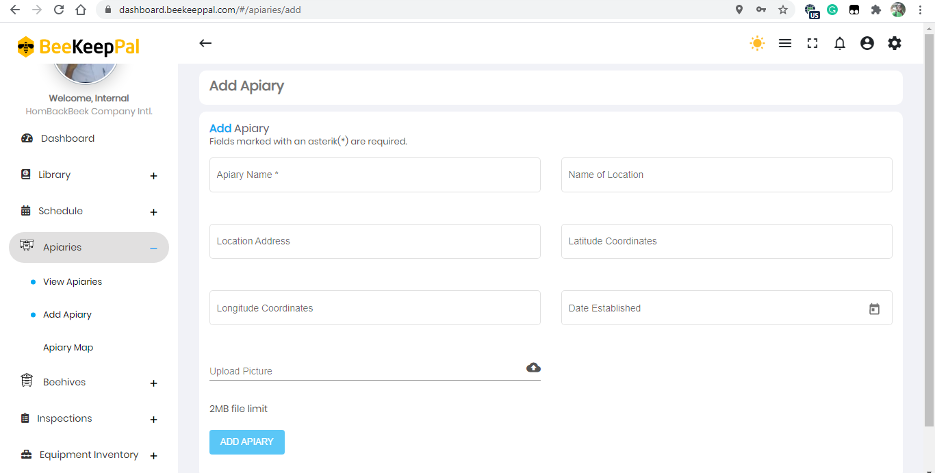
Growth and expansion in your beekeeping operation is good. Whether you are a veteran or new user of BeeKeepPal, you will find the need to add an apiary at some point. The Add Apiary sub-section in BeeKeepPal makes this possible for all. It enables you to add a new apiary to your beekeeping company on BeeKeepPal. To access the page, click on Add Apiary sub-section in the expanded Apiaries section on the Apiary Dashboard Sidebar Menu. You get a page titled Add Apiary. In the page are various fields, icons and buttons to make adding an apiary successful.
Fill in information into the various fields in the Add Apiary page. Make sure the information is as accurate and truthful as possible. Fields that are marked with asterisks in the page must be filled to successfully add the apiary. You encounter 7 fields on the Add Apiary page; Apiary Name, Name of Location, Location Address, Latitude Coordinates, Longitude Coordinates, Date Established and Upload Picture.
In the Date Established input field, you are provided with a calendar icon. Click on the calendar icon to easily add a date to the field instead of adding a date manually. The icon provides you with a pop-up calendar when you click on it. On the calendar, you see the current month of the current year, with the current day circled. Choose the year, month and day you started the apiary you are adding. You can do this using two methods; one is by clicking on the Month and Year field in the top left corner of the pop-up calendar. You are then able to choose the year, and then the month, and then the day you want. Available date options go back to more than 35 years ago, so you will not be locked out. The second way to choose the year, month and day you established the apiary you are adding to BeeKeepPal is by using the two directional arrows at the top right corner of the pop-up calendar. Use them to skip one month back or forward at a time until you reach the year, month and day on which you started the apiary. Click on the day on the pop-up calendar and BeeKeepPal automatically adds that date to the Date Established input field. The pop-up calendar disappears upon selection of a day.
At the Upload Picture field, you are provided with the opportunity to add a picture of your apiary to be used by BeeKeepPal. If you do not upload your picture, BeeKeepPal will use one of the pictures in its gallery when displaying your apiary. Click on the cloud icon to call up a pop-up window through which you select and upload an appropriate picture. The image you upload should not be of a file size bigger than two (2) Megabytes (MB).
When you have entered information in all fields and are satisfied with it, click on the Add Apiary button at the bottom left corner of the page. If adding the apiary is successful, you are shown a green pop-up notice at the bottom of the display screen informing you that you have successfully add an apiary.